Frame
Rather than yet another “what to look for in a frameset” post, I’ll simply share what I’ve used and why it works. There are advantages and disadvantages to different materials, styles, position, etc. In my opinion, honestly- just ride.
I’ve used only 2 frames for ultracycling. “Ride what ya brung” is why. For my ride across the US, I needed to carry 3-4 days of supplies at a time, so the simplest solution was a frame with rack mounts to use panniers. Fortunately, I had gotten a sweet deal on a Specialized Secteur frame- my first disc brake bike- and it fill the bill perfectly. The Secteur is an aluminum frame with clearance for wide, 32-34mm tires- perfect for flexibility on a variety of roads and even some gravel. In the pictures below, it’s equipped with SRAM Red eTap, Avid (SRAM) BB5 mechanical disc brakes, Zipp 303 Firecrest Tubeless wheels, and Zipp Vuka Alumina aerobar extensions.


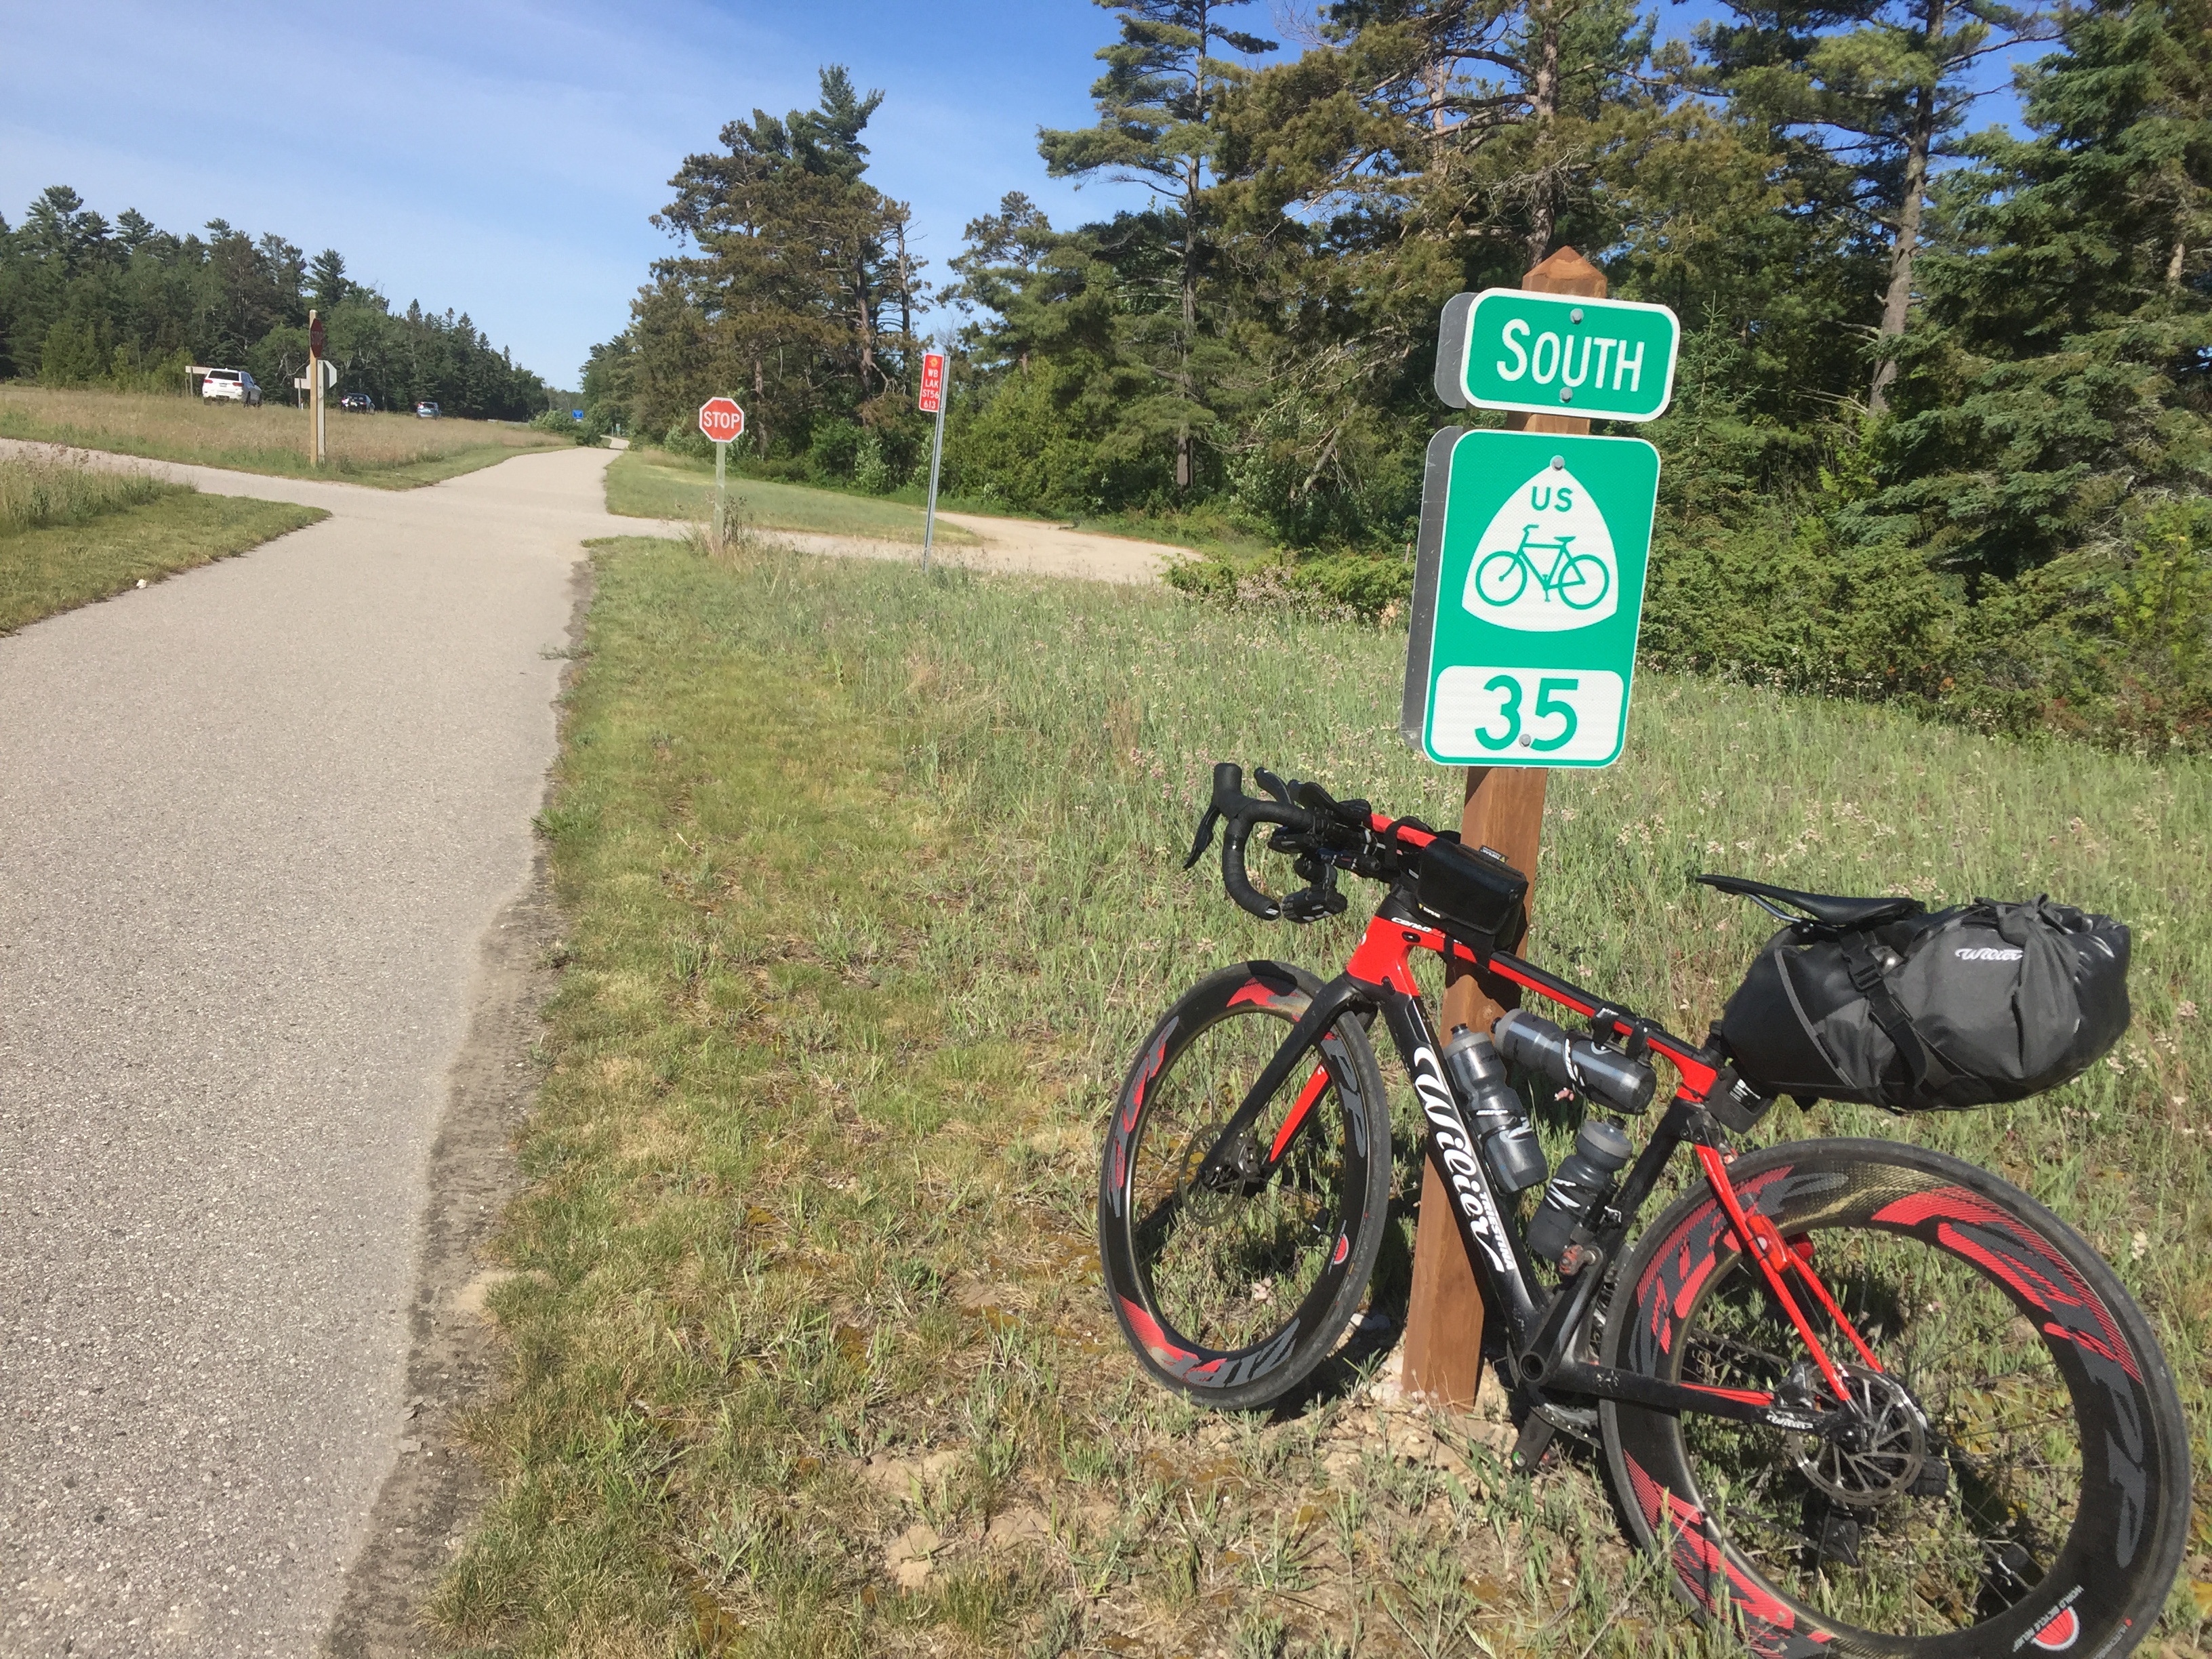
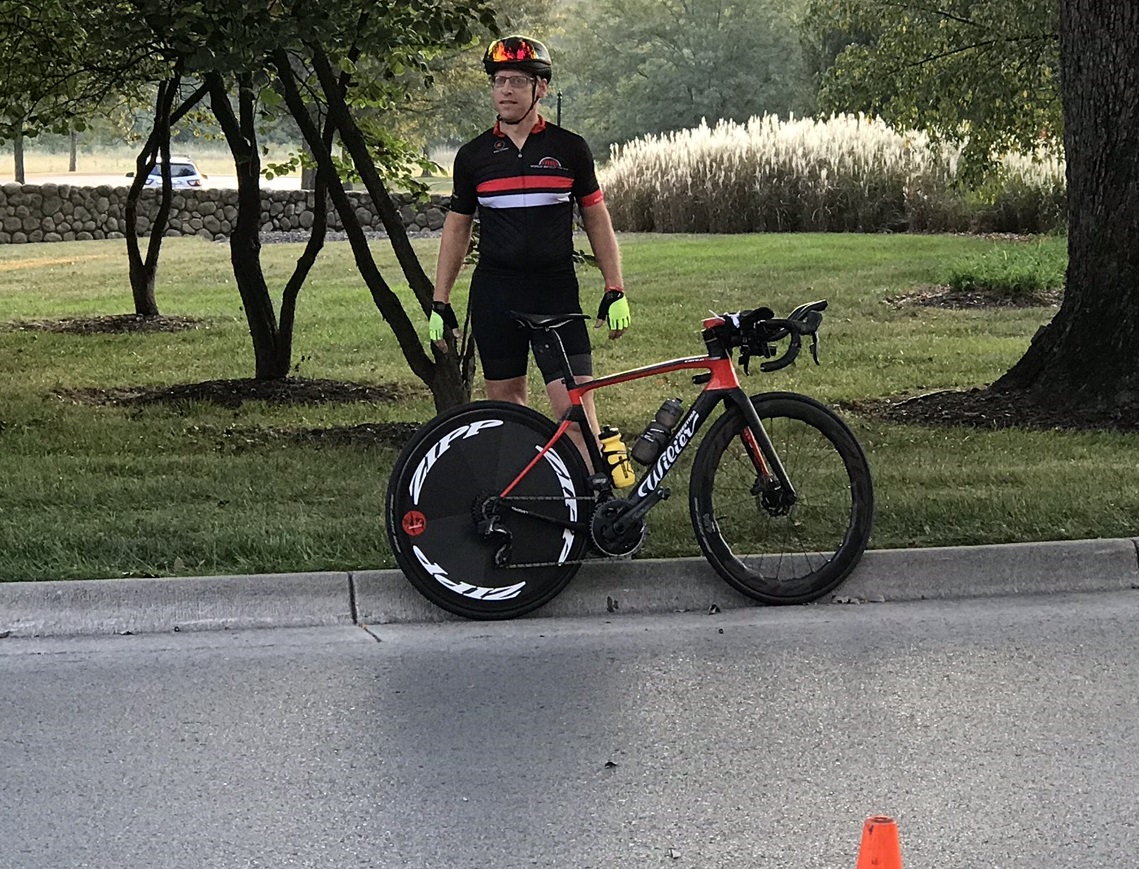
I still have the Secteur, but most often ride a Wilier Triestina Cento 10NDR. Wilier is a lesser known Italian bike brand that’s been around for over 100 years. The NDR stands for “Endurance”, but it’s not a gravel bike. The Cento is a full-on Italian race bike, but with slightly relaxed geometry for long days in the saddle. It also has a vibration damper integrated in the seat stays to provide a few mm of suspension travel. In a little more than 2 years, the Cento has accumulated nearly 25,000 miles / 40,000km (as of Spring 2020) and will get many, many more! It’s equipped with Force eTap AXS drivetrain including hydraulic disc brakes, a variety of Zipp wheels, and Zipp Vuka carbon aerobar extensions.
Drivetrain & Brakes
Proudly working for SRAM, I was fortunate to be one of the early electronic drivetrain testers, so it’s SRAM eTap all the time for me. On ultracycling rides, I will carry a spare battery just in case- but I think I’ve used it exactly once. I carry the eTap battery charger (tiny) and can charge either on the go with my portable battery, or when I have access to AC power. Front and rear derailleur batteries are identical, so if the rear battery does die, a 20-second roadside swap keeps you shifting. Then charge or swap in a fresh battery when it’s convenient. The shifter batteries are CR2032 coin cell and last forever (months to years). To be safe, I will sometimes put in fresh ones before a multi-day ride (it’s a 10 minute task), but there’s no reason to carry spares.
I love eTap electronic shifting, and not just because I work for SRAM. It’s smooth, effortless (significant with bulky gloves or when your hands are numb after hours on the bike), rarely needs adjustment, and just simply works. I’ve never had a missed shift or any type of electronic issue- and that’s with over 75,000 miles riding eTap. I’ve also landed hard on the rear derailleur in a crash several times and- other than than scratching the finish- have never had a problem. It just keeps on working. Replace the derailleur hangar and ride on.
I’m also a proponent of disc brakes- especially hydraulic. The easy modulation, worry free and less hand numbness while descending (think 30 minutes flying down from the Continental Divide), and consistent application put me on the disc side of the disc vs. rim brake debate. Hydraulic is yet another advance. Less adjustment, better stopping power (rarely needed but when you do….), and lower maintenance. I am not the world’s best mechanic (I want to ride, not wrench), but bleeding brakes is pretty simple once you’ve done it a couple times. Ditto for installing tubeless tires, which brings me to….
Wheels & Tires
When I got my first disc brake bike- the Specialized Secteur above- I originally installed Zipp’s 30 Course aluminum wheelset. It’s a great, relatively affordable, all around wheelset. As time went on, I had the opportunity to move to my favorite wheel line- our Zipp 303. I favor the 303’s for their all-around aero performance, handling in multiple conditions, and weight. I have ridden everything in between, from 202’s to a 454/858 front/rear combination and even a Super 9 disk. But the 303 line is my all-around “do everything” favorite.
I will readily admit- I am a tubeless convert and advocate. A few months before riding across the US, I installed a set of 303 Firecrest Tubeless- and will never go back to tubes. With all kinds of road and weather conditions across the country, I encountered every imaginable type of road debris. In 3600 miles riding across the US- I got exactly zero flats. 0! That’s a shocker to most people. While I’ve had a few flats since, the sealing capability for pinch flats, glass and other debris that would have necessitated fixes in less than ideal places and weather conditions make tubeless a no-brainer. There’s also the benefit of lower, more comfortable pressures (without the risk of pinch flats). Yes, tubeless takes some practice to install and normally requires an air compressor. I always carry a spare folding clincher when I plan to be in remote locations- but it’s never been used. The few times I’ve called for a ride are more due to laziness (like fixing a flat after hitting a massive pothole in 20F weather) or unbelievably bad luck (like when the head broke off my tire pump).
More wheel choices and photos:
Using a Super 9 disk and 454 on the roundabout ride, and the 454/858 combination-

I tend to go as wide as possible for tires during ultracycling rides, to allow lower pressures, be more adaptable to a wide range of terrain and road (and off-road) conditions, and with some of the loads I carry (50 lbs or more). On both the Wilier and Specialized, I ride either the Hutchinson Sector (nice coincidence) or the Zipp Tangente Course, between 28-32mm wide.
Cockpit & Accessories
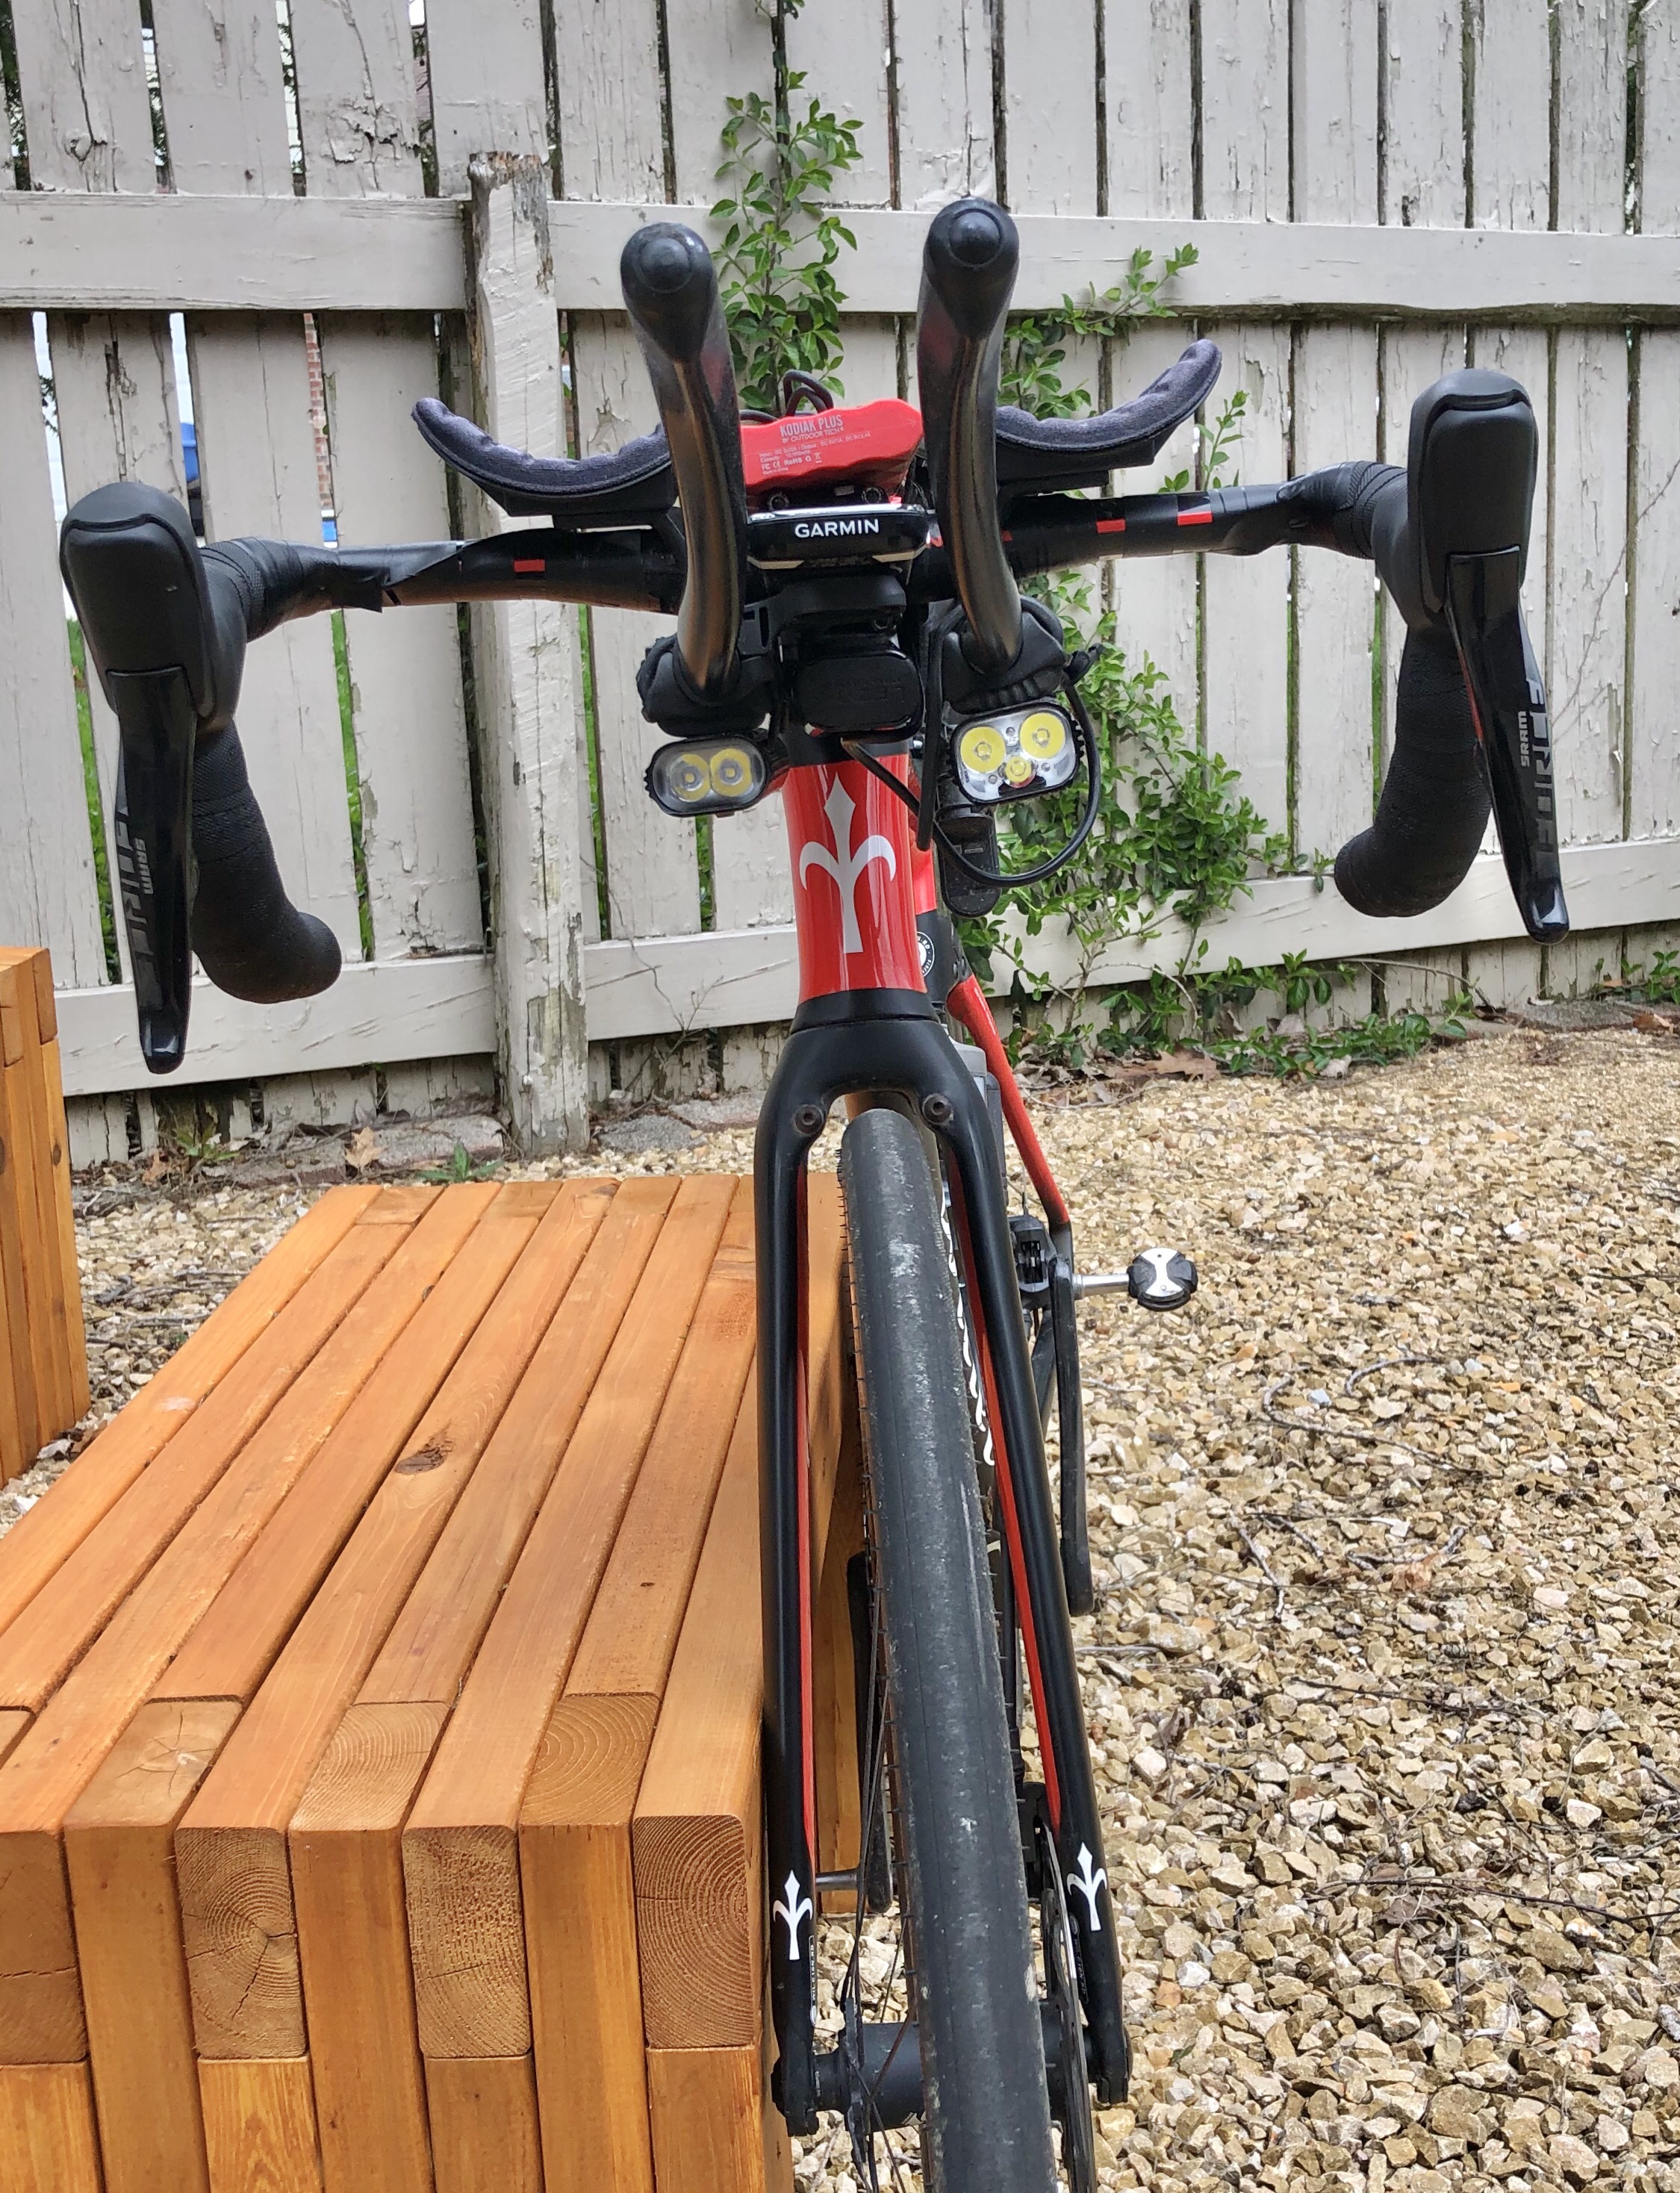
I use Zipp bars and stems virtually all the time, but on the Wilier, the slick internal brake cable routing necessitates the Wilier Stemma (clever name, huh?) and Barra (ditto). Both are carbon, and work great with the frame- no complaints. The stem has the added benefit that it provides a good base for my portable battery:
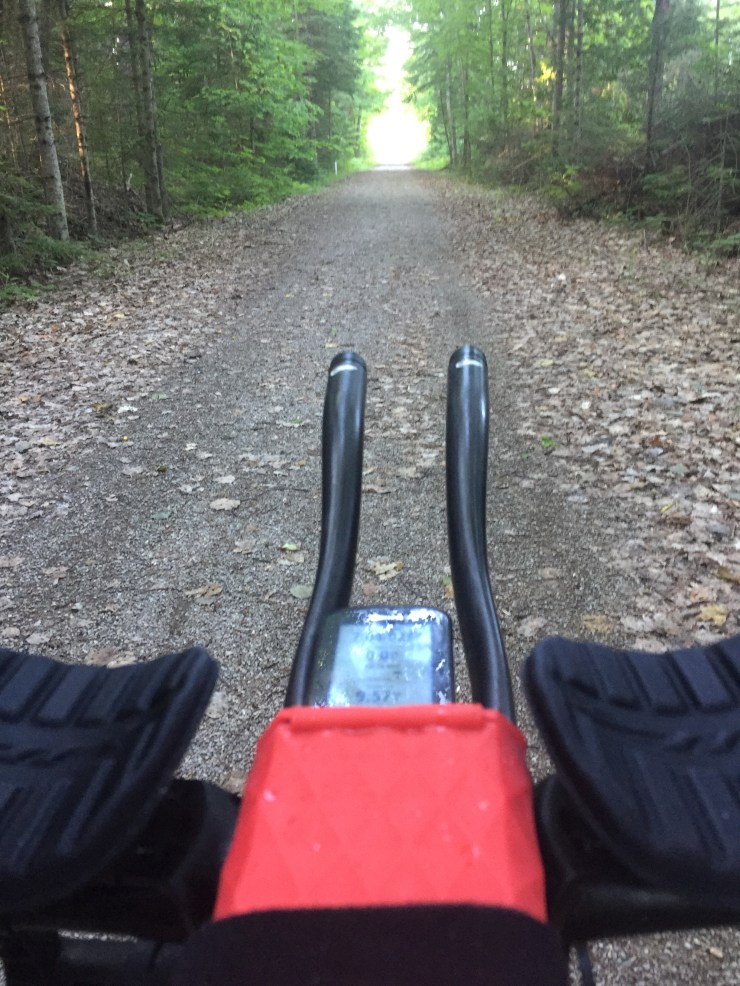
For ultracycling and everyday use, I am a huge fan of clip-on aerobars. When I first installed Zipp’s Vuka Alumina extensions, the hand pain and numbness I was experiencing disappeared instantly. My back benefited as well from the more relaxed, stretched out position. Even with a professional bike fit, the position afforded by aerobars is something I can’t live without on the bike.

I ride Zipp’s Vuka Carbon extensions pictured above on the Wilier- and absolutely love them. The curved shape fits my hands like a glove and there is no need for bar tape (necessary on aluminum since they act as a heat sink and zap heat from your hands in cooler temps).
For eTap with aerobars, I use SRAM’s eTap Clics to allow shifting from either the aerobars, hoods, or drops. Clics are easy to install and the only time I’ve ever had an issue was when the bars hit the ground first in a crash and mangled the shifter button- easily replaced.
I also use Garmin’s Varia radar whenever I ride in moderate traffic (in heavy, city traffic it would be pointless). While you can normally hear cars approaching, the radar- via a side bar on the head unit (no scrolling required)- tells how far back a vehicle is and the relative speed. The radar has definitely influenced my riding behavior. I can make better decisions on whether to swerve around a pothole or swing into a turn lane or the shoulder, since I can tell how close and how fast the vehicle is coming. Even better, it requires a simple glance down instead of turning my head back- so your eyes are on the road ahead more. Plus, I slow down less, since I can be more efficient with avoiding traffic, turning before cars overtake me, etc. The only downside is that the radar does use more headunit battery, on the order of 50% more (so while my Garmin 1000 will last 8-10 hours normally, that drops to 5-7 hours with radar on).
Lights
There are many good lights available, and for years I used whatever was on sale or I read good reviews of. Most recently, I’ve been fortunate to use Lezyne products and they have graciously donated the lights that I now use exclusively. Thank you Lezyne! Key features that I look for in ultracycling lights are flexible mounting options, light output, and obviously battery life. With Lezyne’s “Infinite Power Pack” (see picture of it strapped on the bottom of the bike stem), I can get almost 11 hours at a very respectable 600 lumens! That’s easily enough for an all-night ride. For descending, I toggle up to 1000 lumens (which will last for 7 hours with the Power Pack). For climbing, in cities, or moonlit nights, I can drop to 250 lumens to save battery power. Lezyne’s Smart Connect feature lets you select up to 4 modes/light outputs so you have many options, but don’t have to toggle through unneeded ones while you’re riding. Super handy!
Quick primer on light measurement: lumens is the total light output and is what is most often quoted. Candlepower is the brightness. However, there is no standard measure for pattern or dispersion, so actual comparison is best. High candlepower may sound good- but if it’s tightly focused (think a laser pointer)- it’s useless. Likewise, high lumens sounds good, but only if the pattern is not too widely dispersed.
Upfront, I use the Mega Drive 1800i and Micro Drive 800XL. The mounting on both is flexible, either on the handlebars or aerobars, with sturdy rubber clamps that are quick to attach. The 800XL essentially serves as my back-up if I forget to charge, or sometimes at dawn/dusk I will use it on low power or flashing mode.
(click to enlarge any of the pictures)
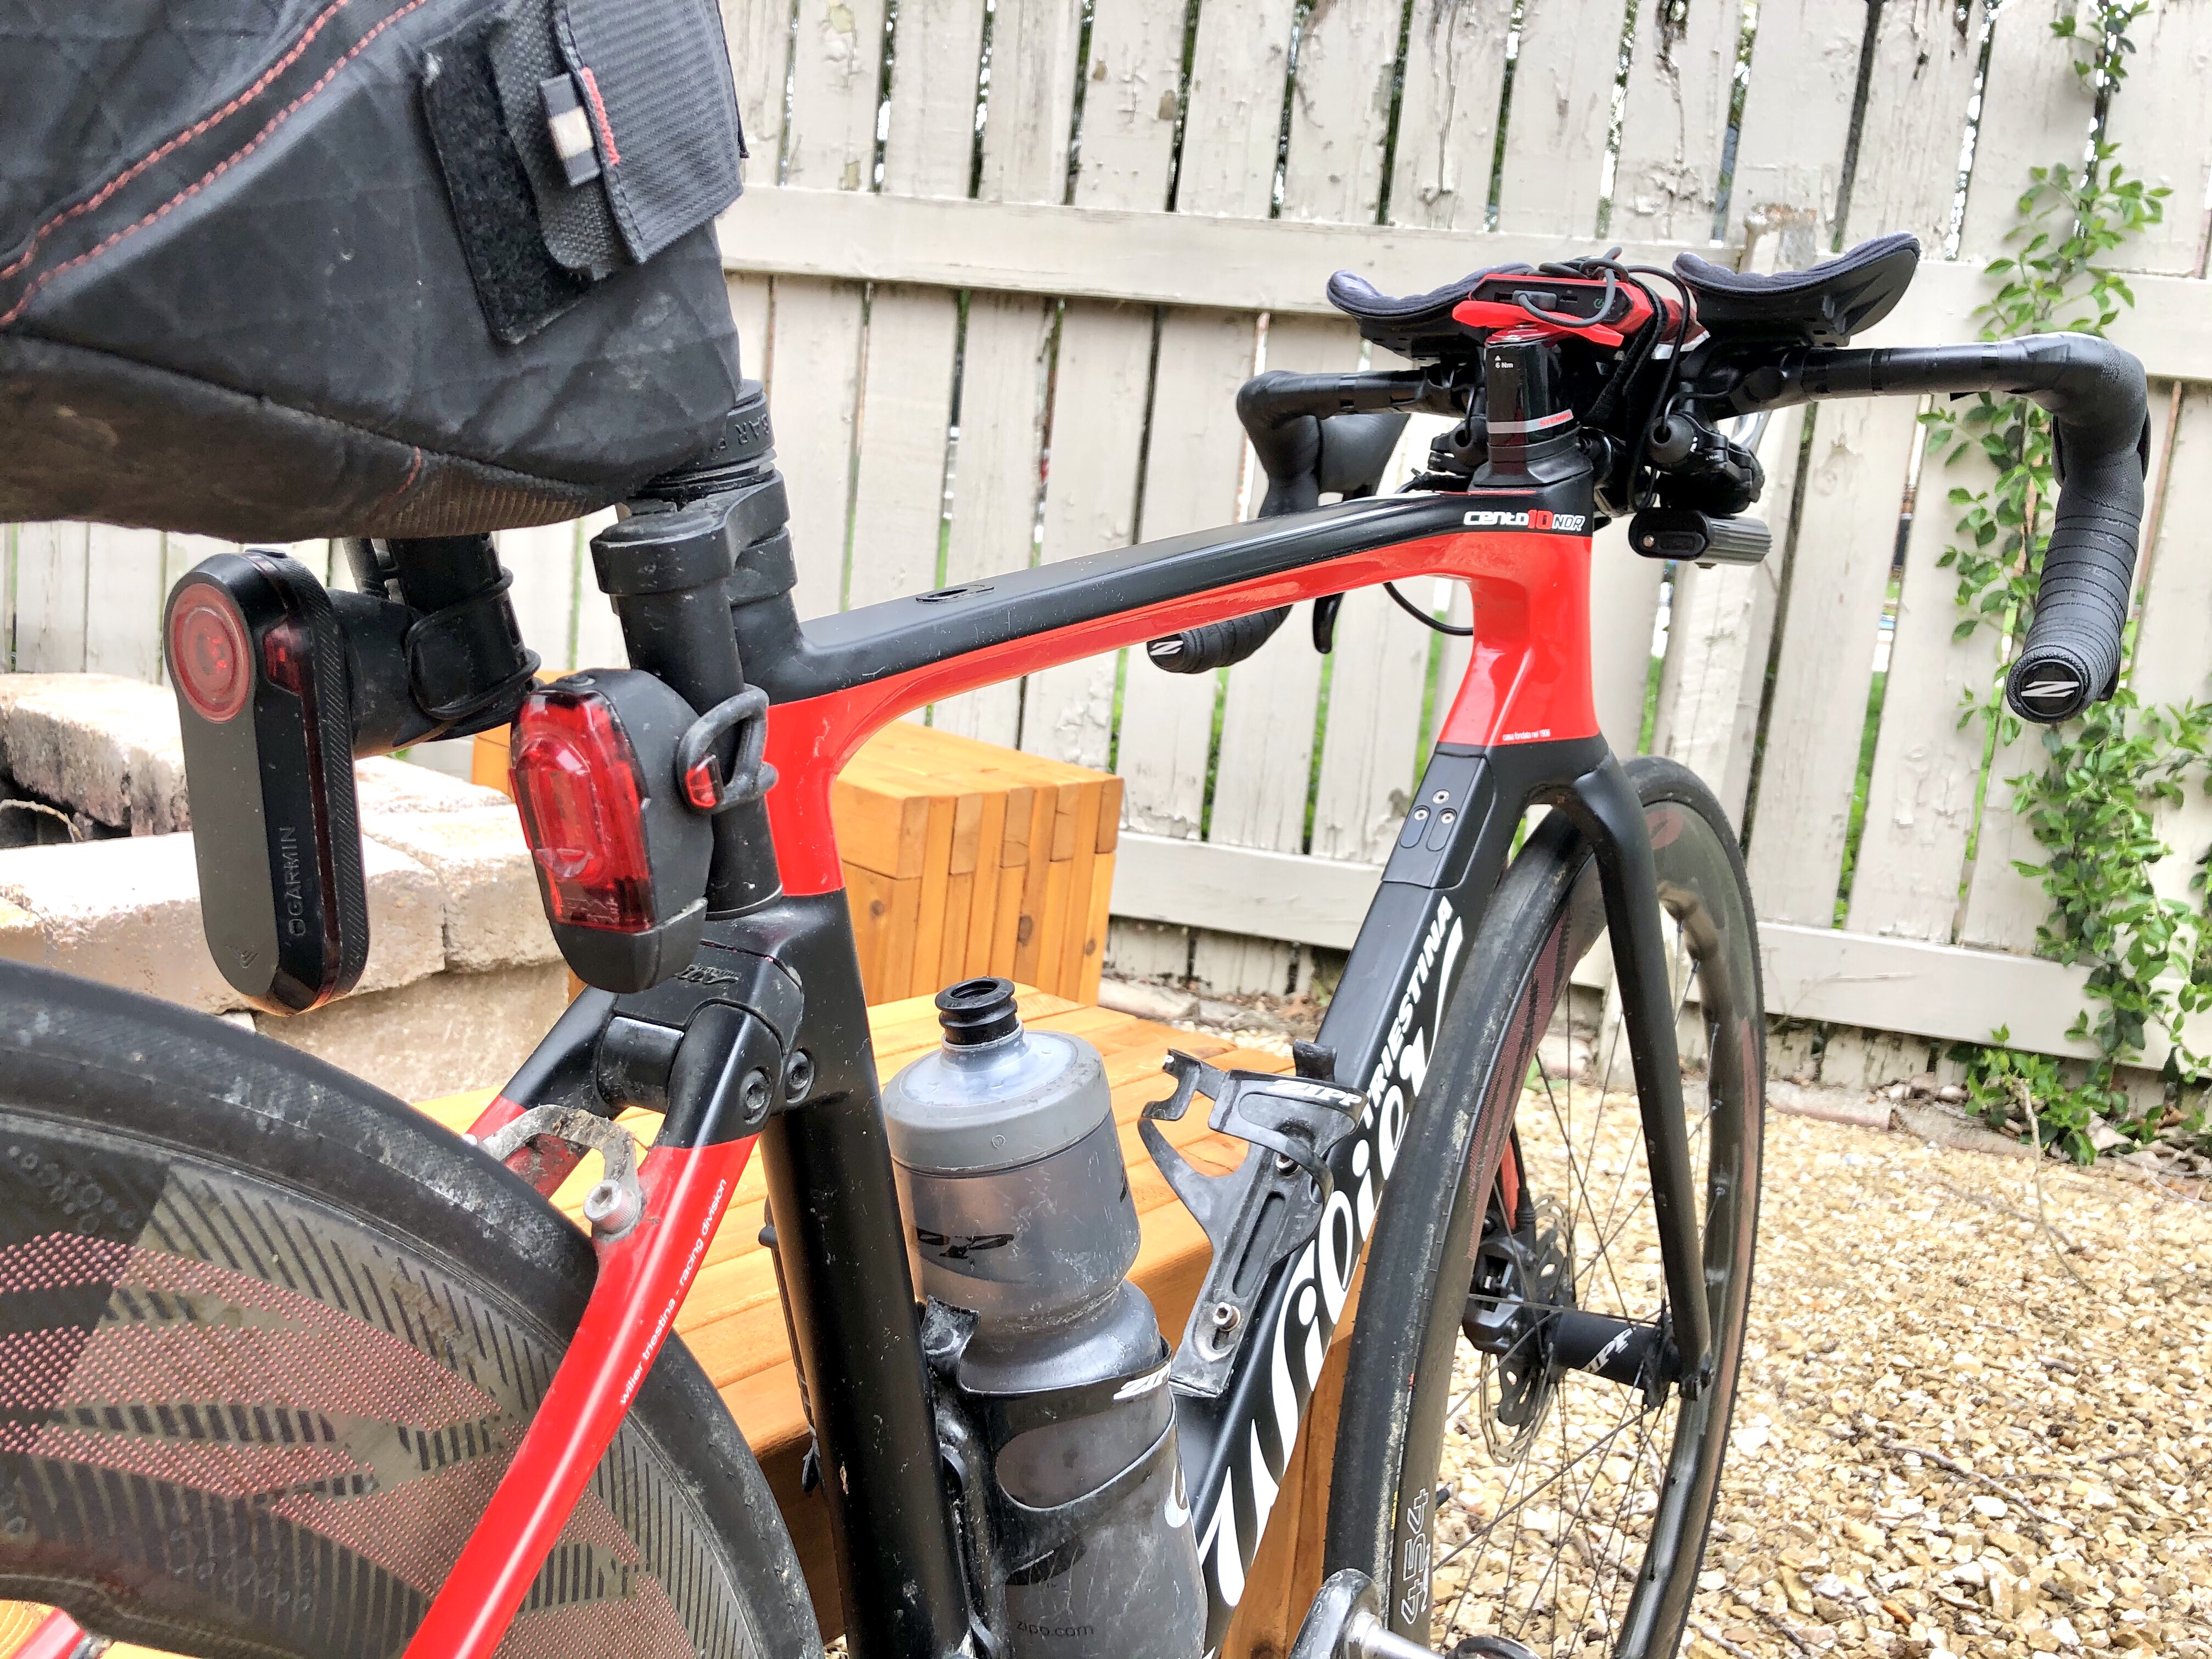
In the rear, I use the Lezyne KTV Pro 75, along with my Garmin Varia radar. I ALWAYS use a flashing rear light (day and night), and often run both. On longer rides, I will carry also carry a spare.

To attach the rear lights in combination with seat bags has been a challenge. I’ve tried 3D printed mounts (not sturdy enough) and others that either obstruct my pedaling motion or the bag. Here’s what I’ve finally found- Problem Solvers is one source.
Bags and packs
Like lights, there are many solid choices available- overwhelming so I would say. My first bag was a Revelate Designs and though tattered and worn, I still use it daily. I’m also a big fan of the Revelate bag that sits under the top tube (see picture above under Frames). The bag only intrudes on water bottles a little- forcing side entry- but is a fantastic use of space. On the ride across the US, I used it to store money, chargers, and other items that I wanted quick access to. My only regret is that the Wilier is smaller, and I need to buy a new bag for it, as the Medium is too long. For more carrying capacity, in the Wilier picture above you can see the 14L Wilier branded bag I use for multi-day rides.
